Webhooks are simple HTTP POST callbacks that Lettermint sends to your URL when events happen in your project. This way you can start a process in your application in realtime without polling—think “event notifications over HTTP.”
Prerequisites
In order to get started, you will need:
- A Lettermint account with access to a Project and Route
- A publicly reachable HTTPS endpoint (use a tunnel like ngrok for local dev)
- Basic familiarity with HTTP and JSON
1. Quick Start
Create a webhook on a specific Route and verify delivery with the built-in Test Webhook.
Create a webhook in the Dashboard
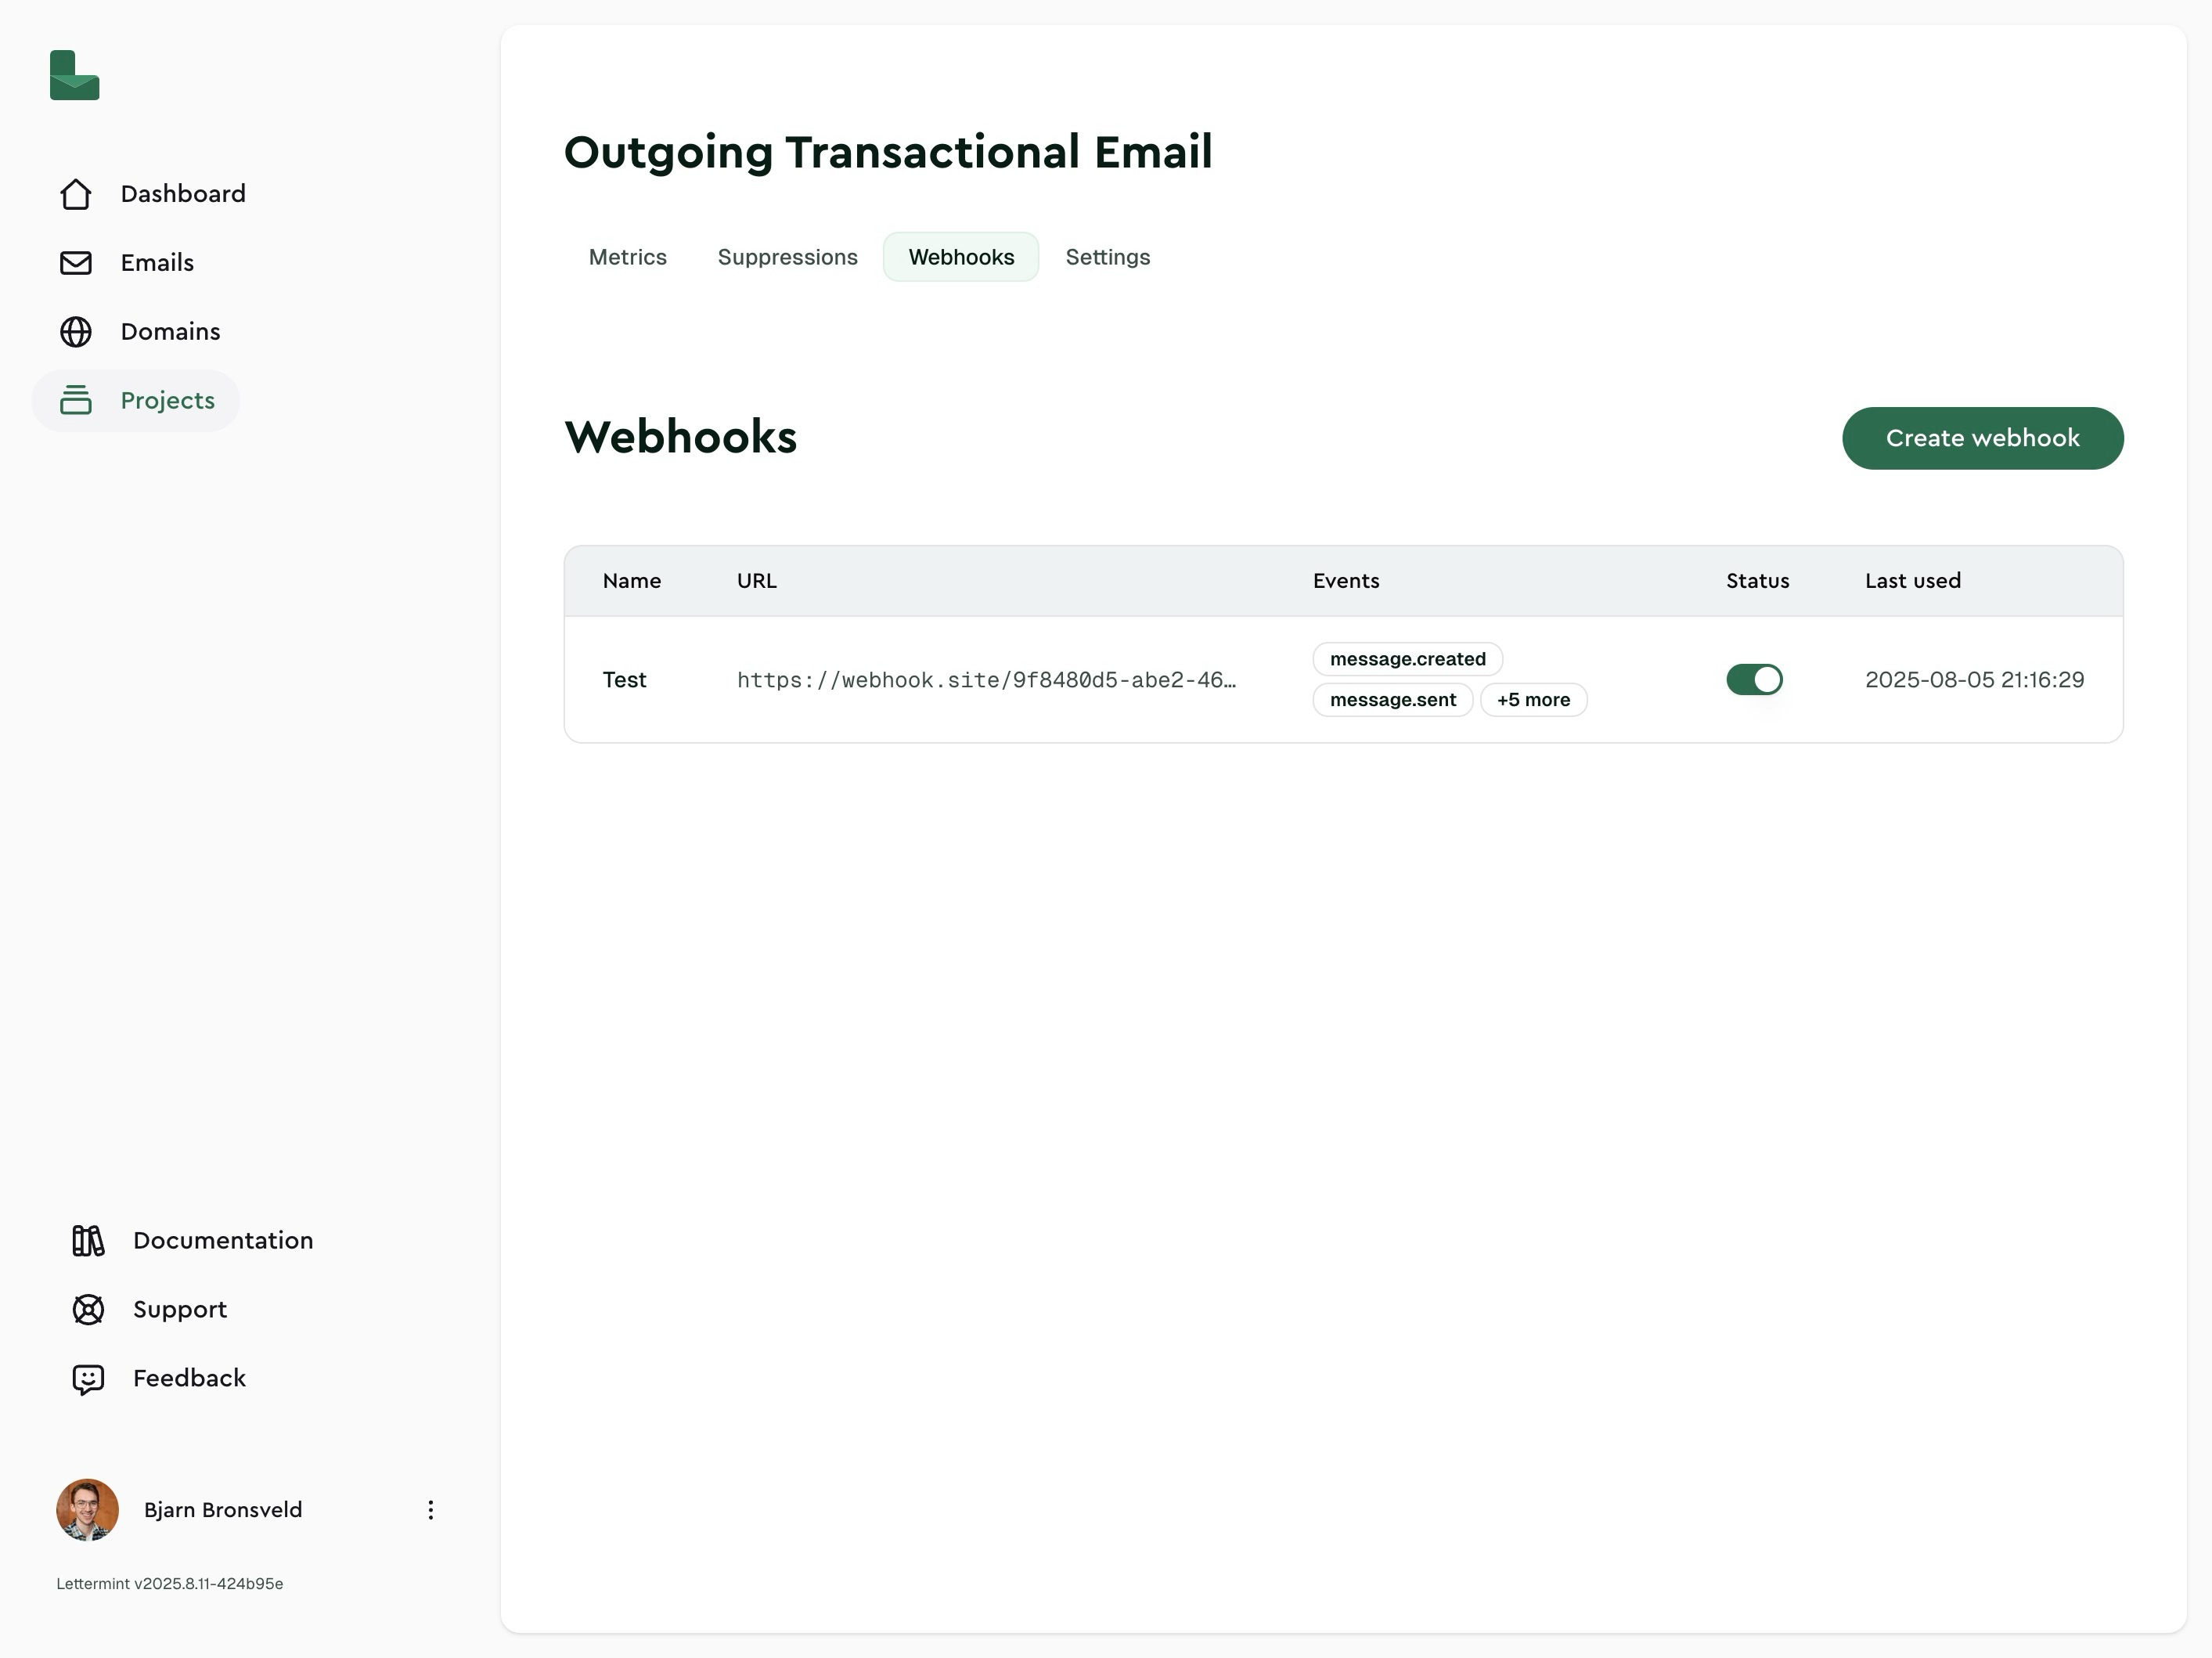
- Go to Dashboard → Your Project → Routes → select a Route → Webhooks.
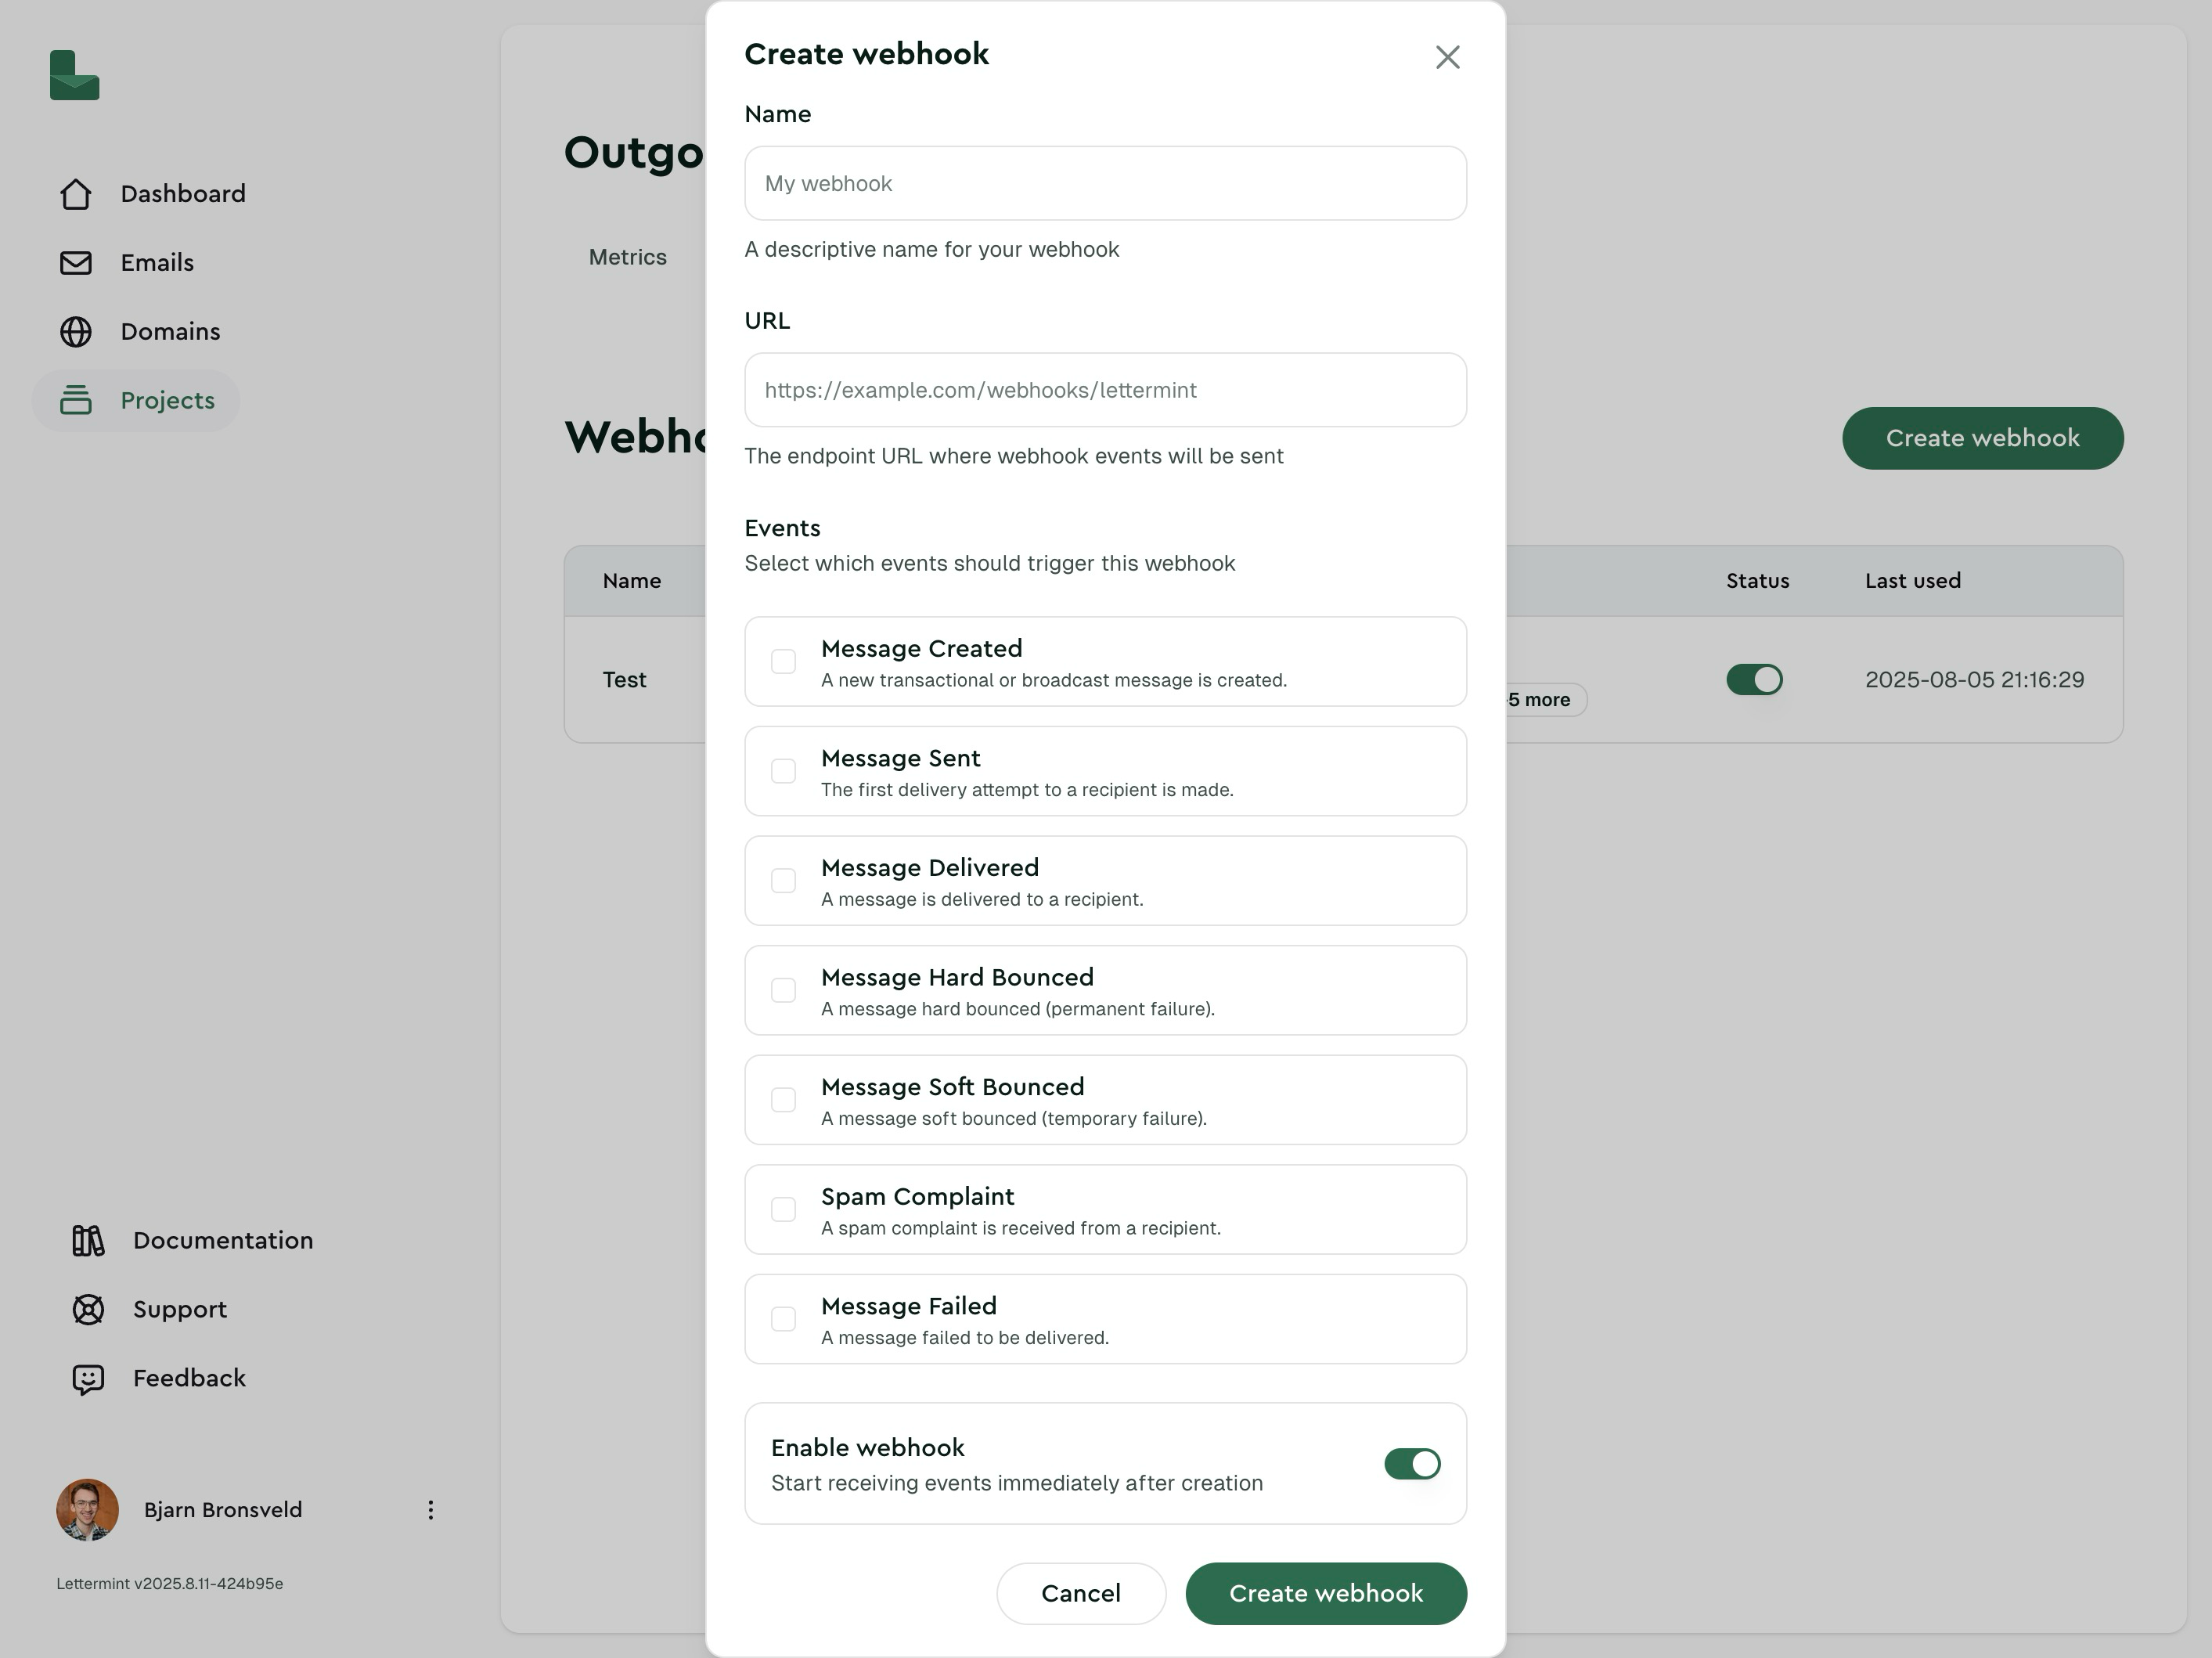
- Click “Create webhook”.
- Now, enter the details of your webhook
- Save.
Send a test delivery
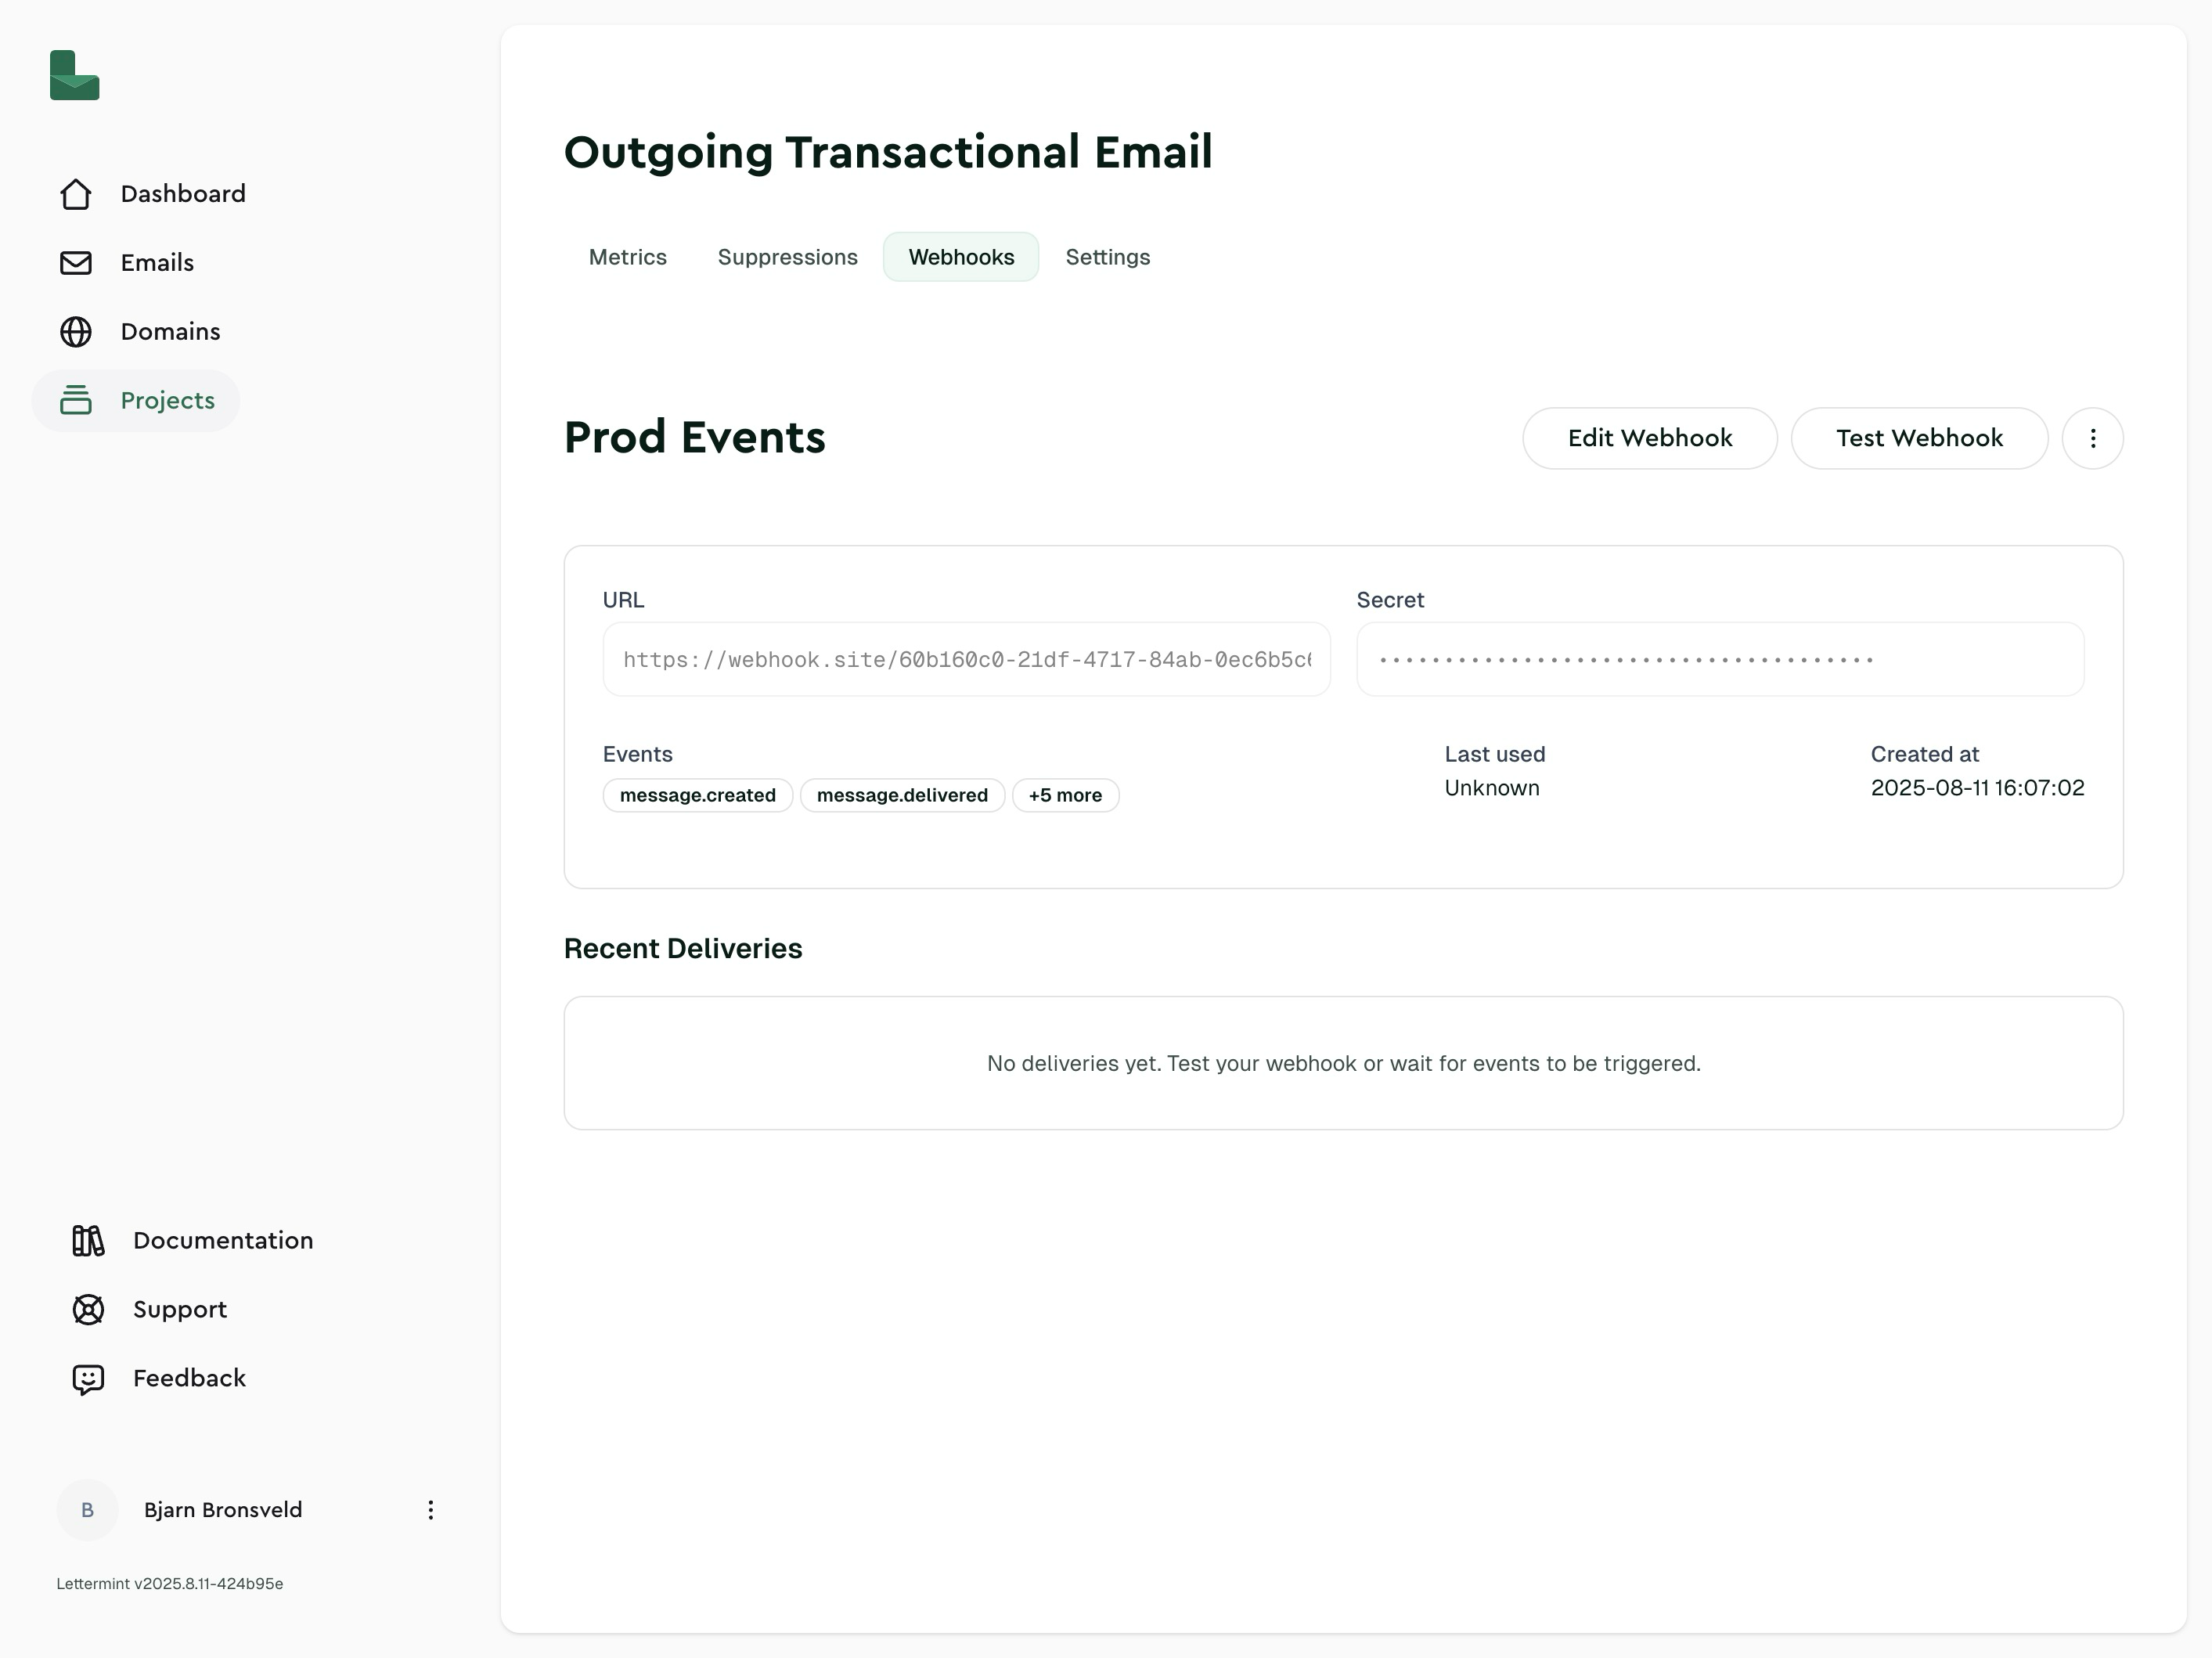
- From Webhook details → click “Test Webhook”.
- You should receive a JSON payload like below.
{
  "id": "test-7f9c8e2a-1b3d-4f6e-b7d2-5c9f3a7e8b0c",
  "event": "webhook.test",
  "timestamp": "2025-08-08T20:14:12.000Z",
  "data": {
    "message": "This is a test webhook from Lettermint",
    "webhook_id": "9f9bf19c-4a2c-45f3-a6c7-bc937224ec5a",
    "timestamp": 1754921294
  }
}
2. Webhook Details
The following details may be useful to you:
Scope
Webhooks are attached to a specific Route within a Project. This way you can subscribe to events for a specific Route without affecting other Routes, e.g. bounces for newsletters do not affect bounces for payments.
Fields
| Field | Description |
|---|
| Name | Display name of your webhook |
| URL | The URL we make the POST call to |
| Events | An array of all possible events |
| Enabled | A boolean indicating if your webhook is enabled or disabled |
| Secret | Each webhook has a secret you can rotate |
| Deliveries | A list of recent deliveries, including status, HTTP status code, duration, and attempt number |
Use multiple webhooks per route to isolate consumers (e.g., analytics vs. billing).
3. Implementing a Webhook
Node.js (Express)
// server.js
const express = require('express')

const app = express()
const PORT = process.env.PORT || 3000

app.use(express.json())

app.post('/webhooks/lettermint', (req, res) => {
  try {
    const event = req.body

    console.log('Lettermint event', event.event, event.id)

    return res.status(200).send('ok')
  } catch (err) {
    console.error(err)
    return res.status(500).send('server error')
  }
})

app.listen(PORT, () => console.log(`Listening on :${PORT}`))
- Parses the JSON payload and logs the event
- Returns 200 quickly so Lettermint doesn’t retry unnecessarily
Framework Integration
Next.js (Route Handler)
// app/api/webhooks/lettermint/route.js
import { NextResponse } from 'next/server'

export async function POST(req) {
  const event = await req.json()
  console.log('Lettermint event', event.event, event.id)
  return NextResponse.json({ ok: true })
}
Use the Test Webhook button in the dashboard to trigger webhook.test and confirm this logs as expected.
Delivery & Retries
Lettermint retries failed webhook deliveries with exponential backoff. We mark an attempt as failed if your endpoint responds with a non-2xx status or times out.
Retry schedule (12 attempts total):
- 1 minute
- 2 minutes
- 5 minutes
- 10 minutes (2x)
- 15 minutes
- 30 minutes
- 1 hour
- 2 hours
- 4 hours
- 6 hours
- 10 hours
Every attempt will be logged in the dashboard and is visible by opening the webhook details. Here you can see the status, HTTP status code, payload and response, duration, attempt number.
Troubleshooting
Webhook is disabled
- Ensure the webhook’s Enabled toggle is on. Disabled webhooks will not send deliveries.
No deliveries appear
- Use “Test Webhook” on the Webhook details page.
- Confirm your endpoint returns 2xx. 4xx/5xx will be marked as failed and retried.
Need signature verification?
Repeated retries
- Your endpoint must return 200-level status quickly. Do heavy work async.
- Implement idempotency using the event id to avoid duplicate effects.
Next Steps


