Prerequisites
Before you start, ensure you have:- A Lettermint account (sign up here if needed)
- A verified sending domain
- Your API token from the Lettermint dashboard
Step 1: Get Your API Token
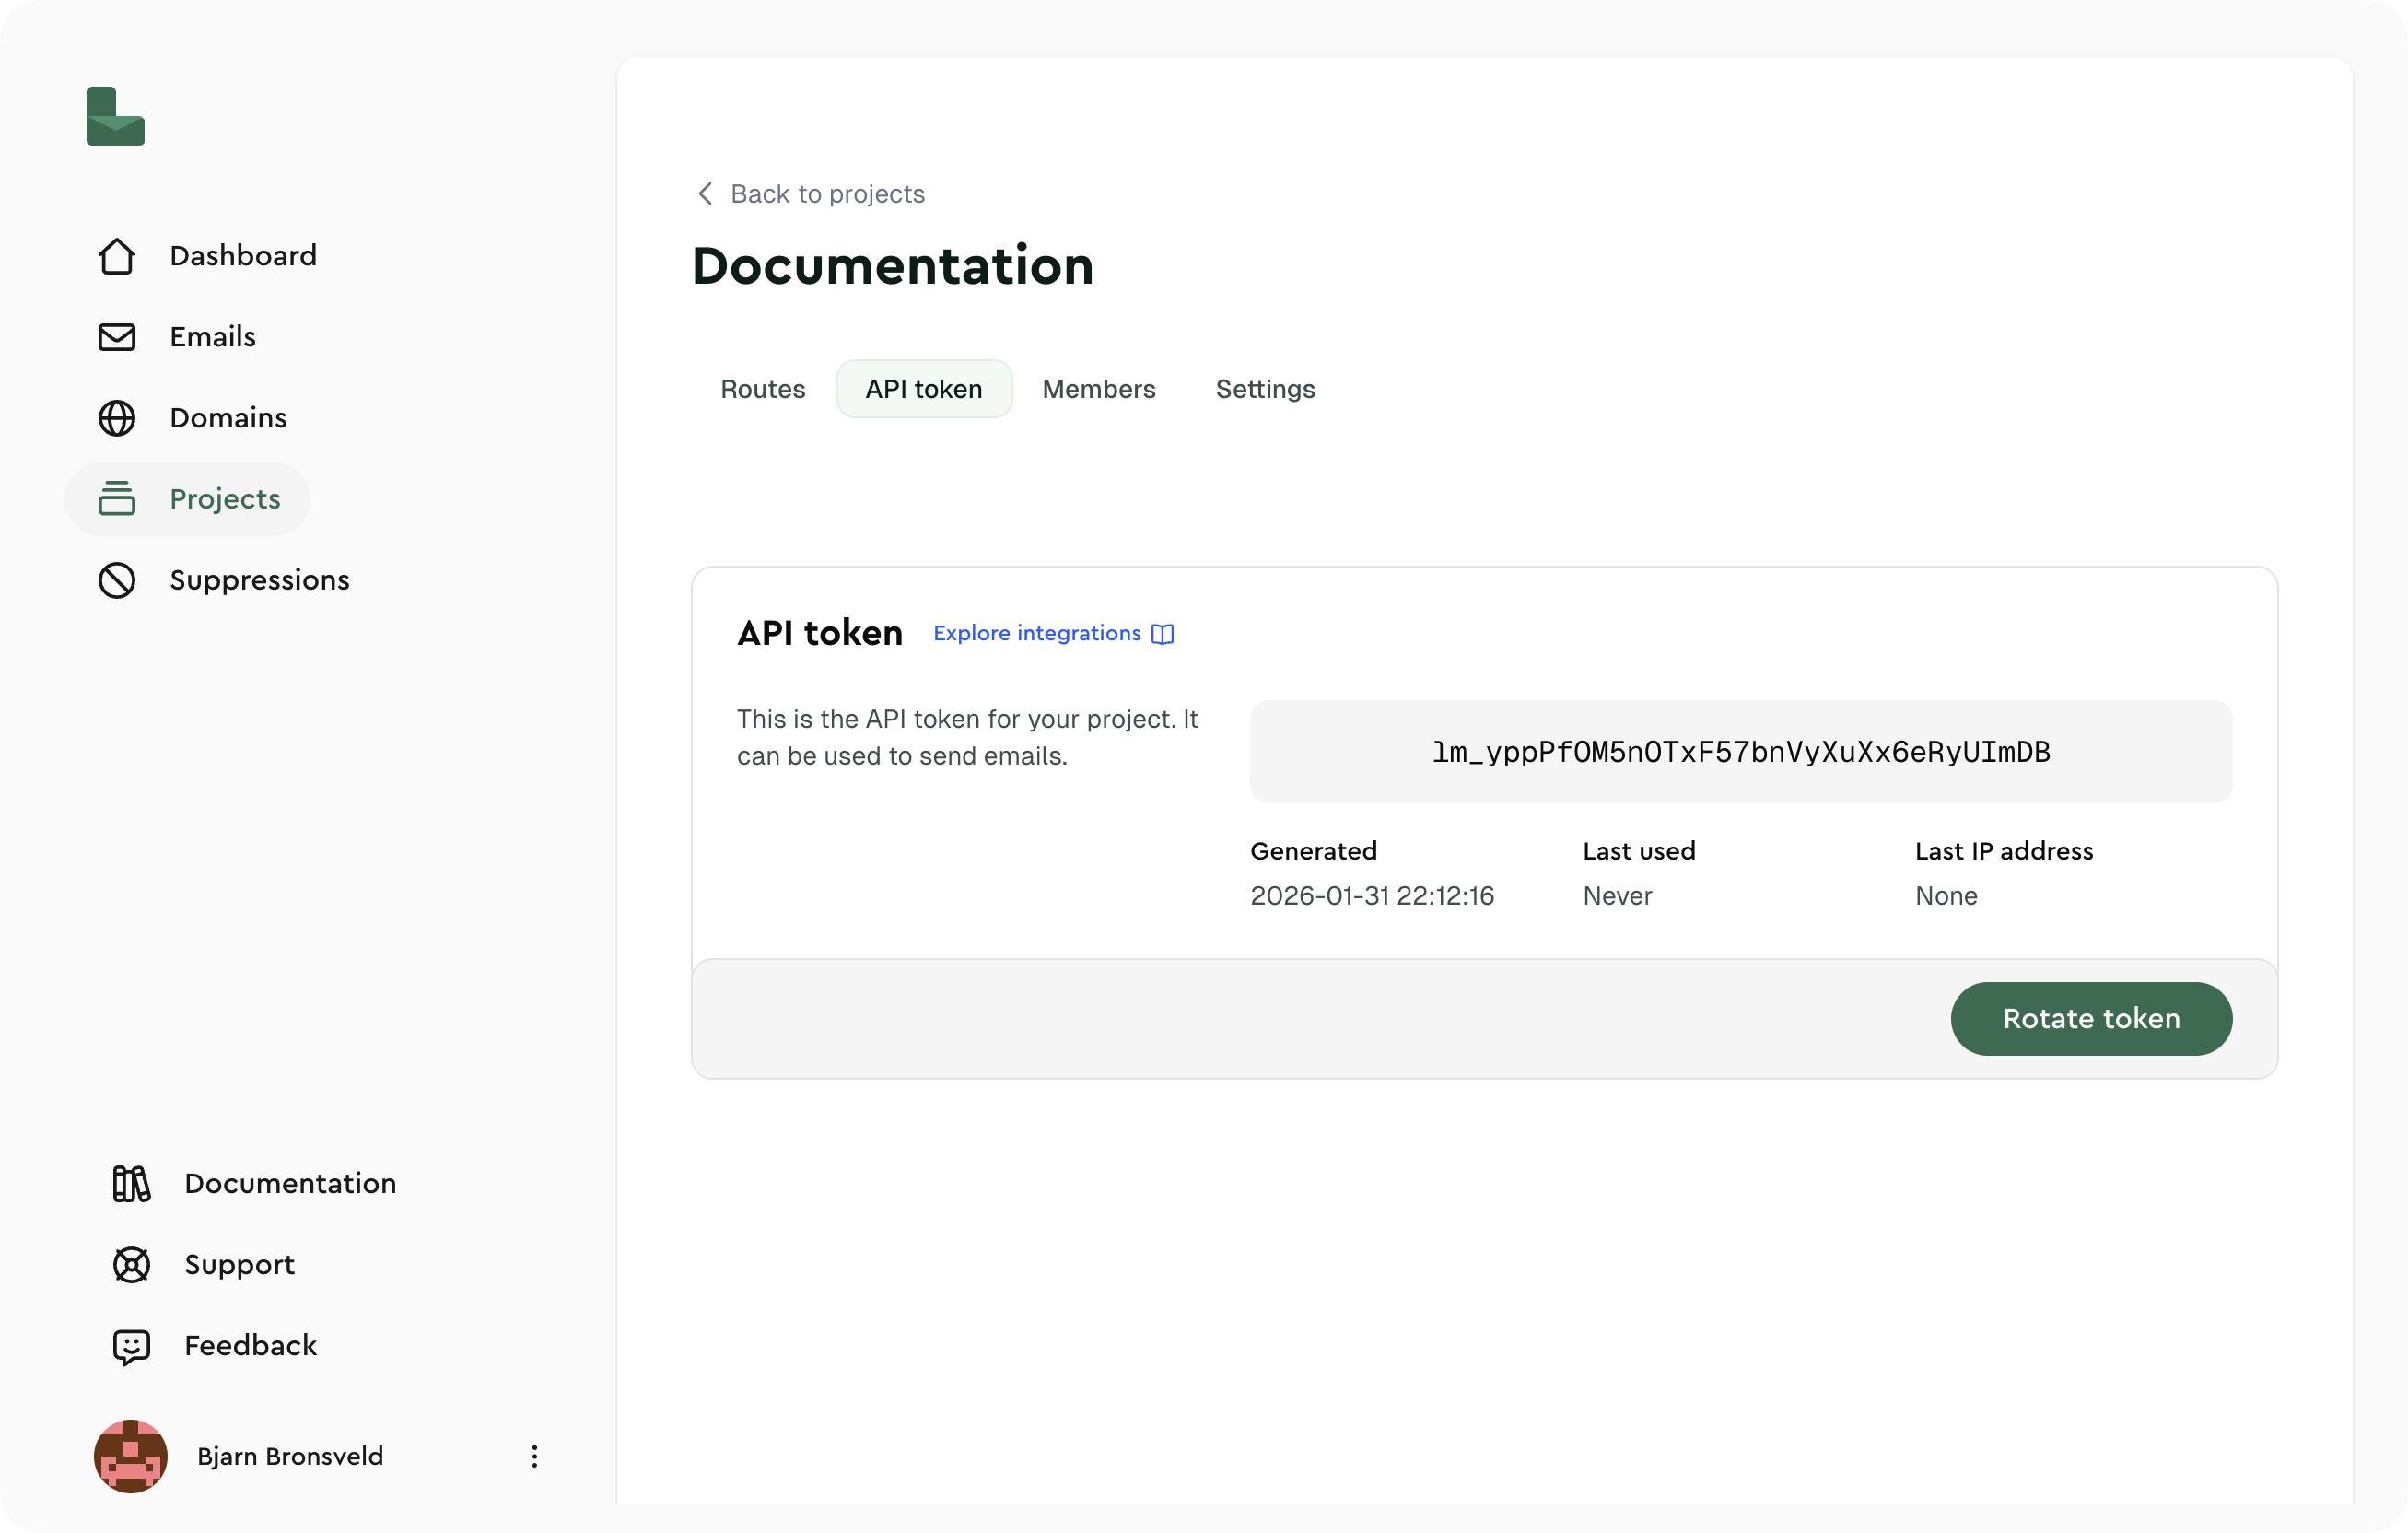
- Log into your Lettermint dashboard
- Navigate to Projects → [Your Project] → API Token
- Copy your API token
Step 2: Send Your First Email
Choose your preferred method:Expected Response
A successful request returns a202 Accepted response:
Lettermint does not have a rate limit on its sending API. Send as many emails as you need without worrying about throttling.
Step 3: Check Your Emails
Go to the Emails overview in your dashboard to see your email’s delivery status.Next Steps
Explore SDKs
Official libraries for Node.js, PHP, Python, and more.
API Reference
Complete endpoint documentation with request/response examples.
Set Up Webhooks
Receive real-time notifications for delivery events.
Domain Configuration
Configure DNS records for optimal deliverability.
Going Further
Once you’re comfortable with the basics, explore advanced features:- Idempotency — Prevent duplicate sends with idempotency keys
- Tags — Organize and filter emails with custom tags
- HTML Content — Send rich HTML emails alongside plain text
- Tracking — Monitor opens and clicks with built-in tracking